Category Archives: General
A little go at wild foraging…
I have been thinking for ages about doing a course in wild foraging as I think it would be really useful and interesting to know more about easily accessible wild foods all around us …how to identify…cook and so on. However, then lockdown happened and one day when checking out my emails I read an email from www.pebblemag.com
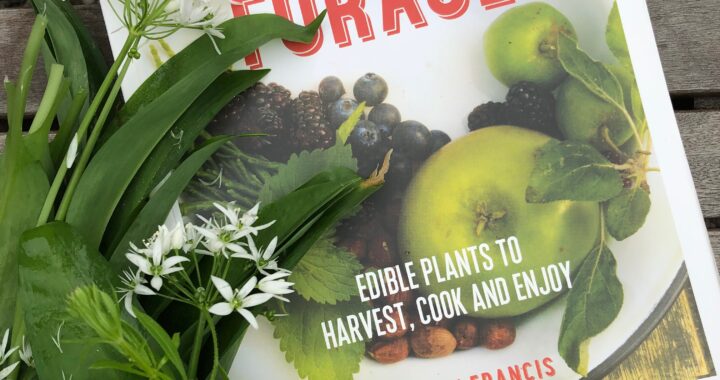
They recommended a book by Tiffany Frances called ‘Food you can Forage’ so I thought I would treat myself.
https://www.instagram.com/tiffany.francis/
The book is divided into different countryside areas to forage in, plants to identify and in what seasons. At the back of the book there are some recipe suggestions.
I took my book and a bag into the woods with a friend and collected some wild garlic leaves and that evening made a wild garlic pesto – I have to say that it was delicious and so much nicer than bought pesto. I thought I would share the recipe from the book for you with some added ideas of mine.
Pesto Primavera
wild garlic leaves 100g
nettle or garlic mustard
10 fresh basil leaves
old winchester cheese (vegan) or cornish quartz cheddar grated 60g (actually I used fresh parmesan)
pine nuts 50g toasted and chopped (I used cashew nuts as they are cheaper and work just as well)
olive oil 140ml (cold pressed is the best)
sea or rock salt
Wash leaves and set aside. When dry pop leaves, basil, cheese, nuts and salt into a processor and blend until coarsely chopped. Add glugs of oil one at a time to the processor and whizz until you are happy with the consistency. Enjoy with your freshly cooked pasta!
Alternatively transfer the mix into a sterilised jar and when full, cover the top with a layer of oil to seal it in. Use fresh or within a few weeks.
Tried and tested hot cross bun recipe
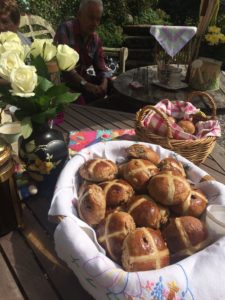
I thought I would share this with you. It has been a tradition for years that I have made these buns on Good Friday and shared them with friends and family. Usually I make 3 times the recipe but this year will be different due to the coronavirus. I am still making them as they are so delicious and I thought some of you may want to give the recipe a go! They are best eaten when still warm and I always make sure not to over cook – in fact slightly undercooked is better so they are on the doughy side! I am going to try and get a better photo when I make some on Friday!
Makes 12
8 oz (225g) strong plain white flour
8oz (225g) strong plain wholewheat flour
1 sachet easy blend dried yeast
1 teaspoon salt
1 tablespoon mixed spice
2 oz (50g) soft brown sugar
4 oz (100g) dried mixed fruit washed( I tend to use quite a bit more than this)
1/2 orange -grated rind only
2oz (50g) melted butter
1 egg beaten
8-9 flu oz (225-255 ml) milk and water mixed, hand hot
Paste Crosses:
5 tablespoons plain flour
3 tablespoons water
1 tablespoon oil
Glaze:
3 tablespoons golden syrup warmed with 2 tablespoons water
Method:
Set oven at 400F or 200C Gas 6
- Mix dry ingredients and fruit in a large bowl
- Add remaining ingredients. Mix and knead for 5 mins with a dough hook in an electric mixer or by hand until smooth.
- Knead and stretch dough for 10 mins on a lightly floured surface.
- Divide dough and shape into 12 buns using palm of hand to form into neat balls.
- Place on to a greased baking sheet and cover and wrap loosely, the whole sheet with oiled greaseproof paper.
- Place in a warm place to rise until double the size.
- Whisk together paste cross ingredients and spoon into a piping bag. Pipe crosses all the way across each row of buns – vertically and horizontally.
- Bake for approximately 15-20 mins until golden brown. NB Don’t overcook- check one bun to see if it is to your liking!
- Glaze with warm syrup and they can also be served with 6 oz (150g) butter flavoured with the zest of 1 orange. Enjoy!
Time with Anne Kelly in the studio
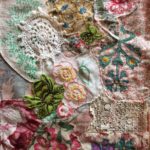
We had a great day playing with techniques shared by the amazing and inspiring Anne Kelly, BFA, ATC.
Textile and mixed media artist Anne creates unique works of art incorporating treasured personal and found objects, ephemera, stitchery, lettering, motifs and more…into exquisite pieces.
Here are some pictures of her work..no doubt she will be back to visit sometime so keep your eyes and ears open if you fancy an indulgent day at Mad Hatters Studio.
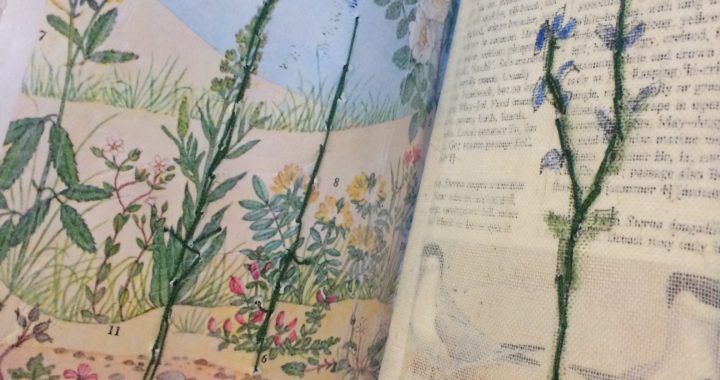
Anne has co-written ‘Connected Cloth’, also solo written ‘Textile Nature’ and ‘Textile Folk Art’ and I hear there is a rumour of another book. So here are some pictures of Anne’s work;
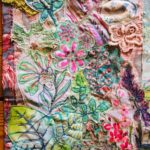
And here are some pictures of work created on the day…much of which, for those participating will be an ongoing project with further stitch and embellishment- we were all delighted with our outcomes…
Time for a delicious tried and tested recipe…
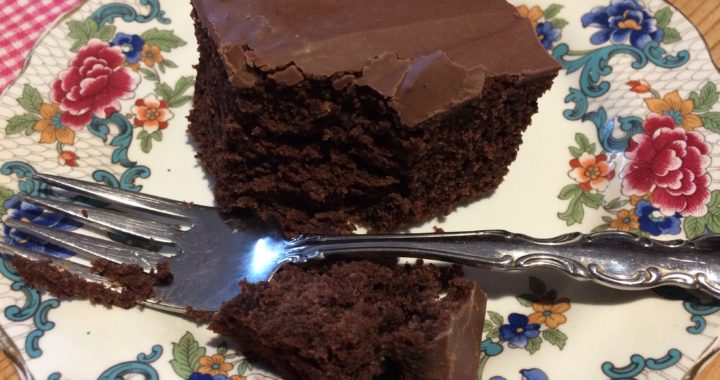
Canadian Wacky Cake
I thought I would share a recipe with you as everybody always loves it – it is like a cross between a between a brownie and a sponge, has been in my family for years and is sooo easy to make! When I make this cake I use an Aga roasting pan and make x3 times the recipe. If you use a standard roasting pan you could use x2 times the recipe.
Ingredients:
200g SR Flour
150g Soft brown sugar
3 Tbs Cocoa Powder
1 Level Tsp Bicarb (this is optional -it makes the cake more airy but I prefer the cake more dense so I don’t use it)
1 Tbs Vinegar
125 g Melted Butter
1 Tsp Vanilla
1 Cup Tepid Water (hand hot)
1 Large Bar Dairy Milk
Method:
-
Sieve dry flour, cocoa and bicarb (if using) into the roasting pan and sprinkle over sugar.
-
Make 3 dents in the mixture and in one pour in melted butter, in one place the vanilla and in the final one put in the vinegar.
-
Pour over the tepid water and mix well together with a whisk.
-
Bake at 180C or 350F for 30-40mins until only just cooked – still slightly sticky is good.
-
Gently melt the chocolate and pour over the top. Use a palette knife to swirl around and make a patterned effect. You could also add other decorations e.g. sprinkles or spun white chocolate.
-
Cut into chunky squares when cold. It maybe served as it is or warmed and served with custard, ice cream or clotted cream or anything you fancy! YUM!
Garland Making at Mad Hatters Studio
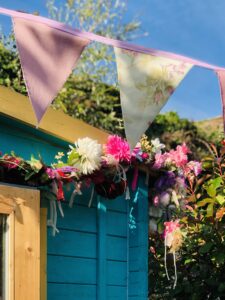
I thought I would post a selection of pictures of some of the beautiful garlands made mostly at the studio by all ages – we make a woven natural willow base and then use a section of foraged greenery and up cycled ornaments and ribbons to give a splash of colour. I also show how to make woven twine flowers and paper flowers made with vintage papers which can then be added to the garland There are many options of exquisite little things to make and add to make your own unique garland….and the best bit is that you can reuse the base time and time again or even just hang it all year!
The Dream Catchers
My lovely cousin Meghan who is an amazing nail artist
https://www.candyrainplymouth.co.uk
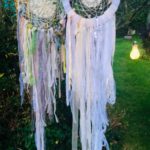
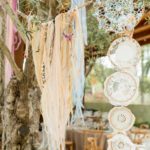
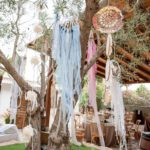
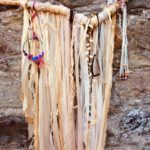
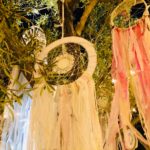
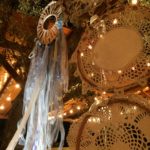
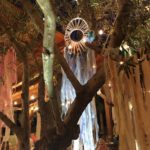
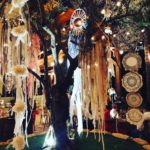
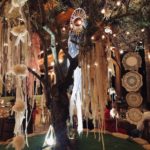
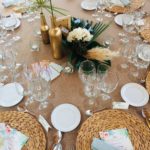
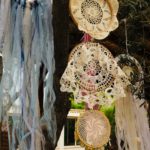
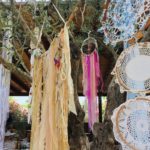
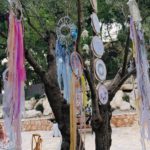
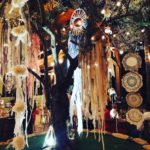
got married to boyfriend Matt in Spain this summer and I was honoured to be asked to make some dream catchers as part of the wedding decorations. I had a lot of fun making them and of course they are all made from reclaimed materials, much of which I found at Plymouth Scrap Store a great place for rummaging through reclaimed materials…I get very excited and have to constantly restrain myself when I visit this place!!
https://www.facebook.com/plymouthplay
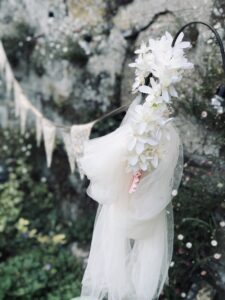
So here are a few pictures of the dream catchers which of course I can now hire out or reuse for other parties and events…It was a fantastic day!

